Power BI Dashboard Setup
This guide walks you through importing the UpgradeMate Power BI template, publishing it to your Power BI Report Server, and configuring a scheduled data refresh. Following these steps enables dynamic, up-to-date reporting on your device upgrade readiness.
Video Tutorial
Requirements
- Power BI Desktop (Report Server optimized) installed on the machine where you perform the import.
- The UpgradeMate Power BI template file
TemplateUpgradeMate.pbit— by default located atC:\Program Files\UpgradeMate\PowerBI\TemplateUpgradeMate.pbit. - Access to your Power BI Report Server.
- Credentials with read access to the Configuration Manager database.
Step-by-Step Guide
Import the Template in Power BI Desktop
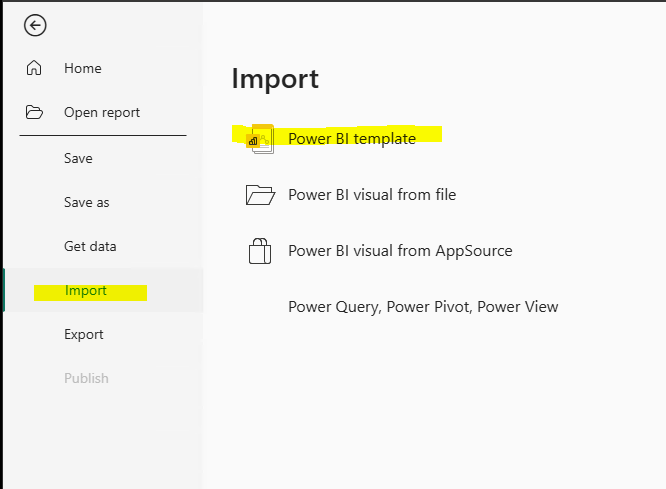
In Power BI Desktop, navigate to File → Import and select Power BI template.
Browse to the location of the UpgradeMate template file, select
TemplateUpgradeMate.pbit, and click Open.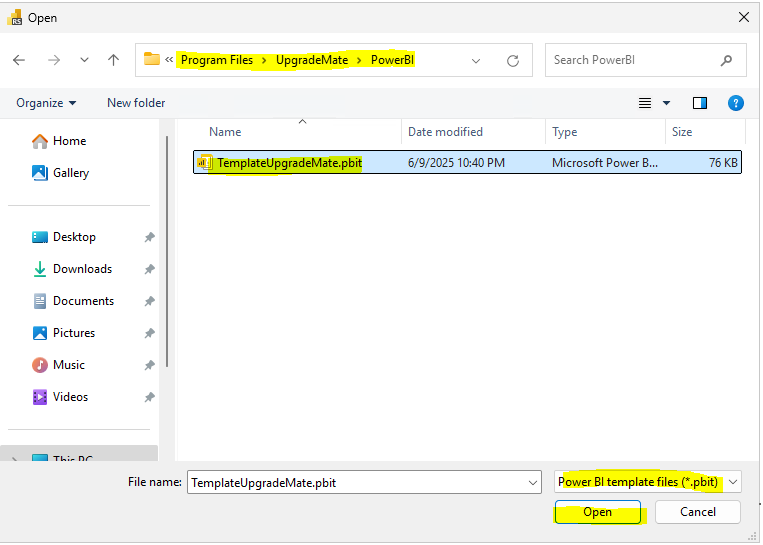
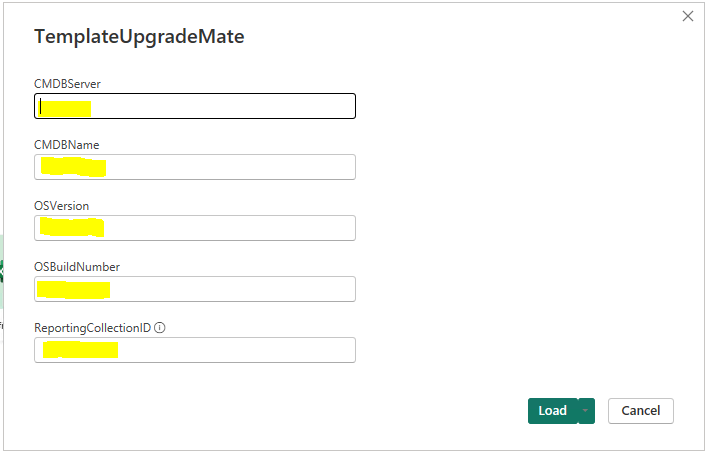
Enter the required parameters for your environment, including the CMDBServer, CMDBName, and other relevant details. Click Load to continue.
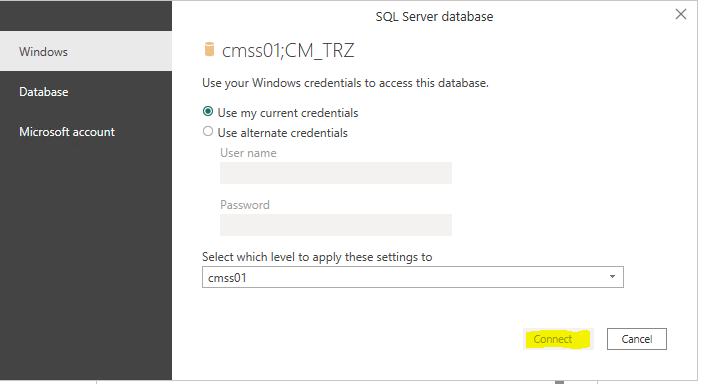
When prompted for database credentials, select your preferred method (e.g. Use my current credentials) and click Connect to load data from the SQL Server database.
Publish to Power BI Report Server
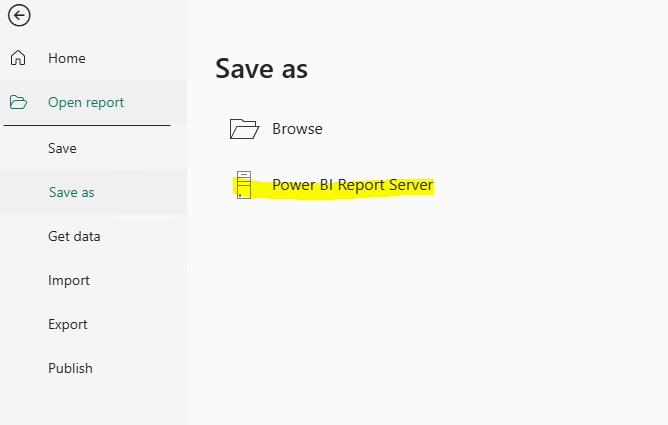
Once the report has loaded, save it to your report server. Go to File → Save as and choose Power BI Report Server.
Select or enter the address for your Power BI Report Server (e.g.
http://CMDB01/Reports) and click OK.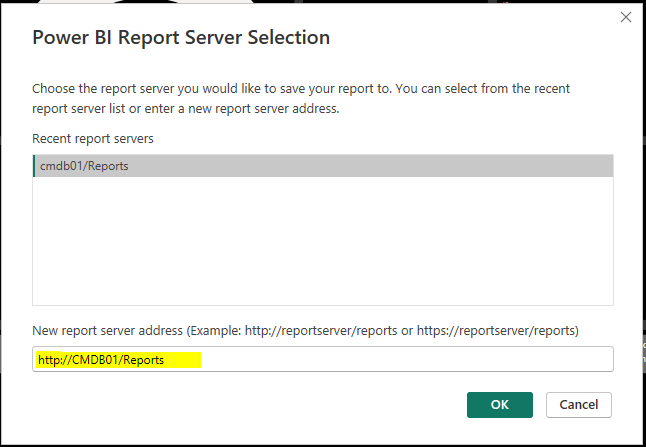
Provide a name for your new report, such as
UpgradeMate Dashboard, and click OK to publish it.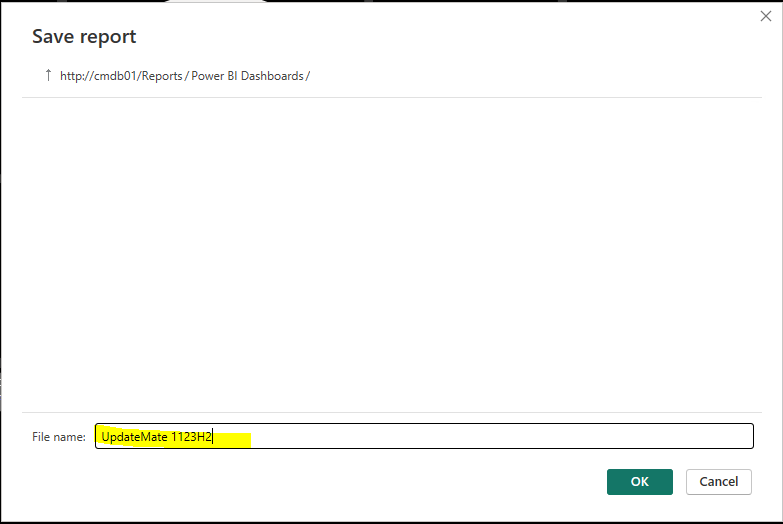
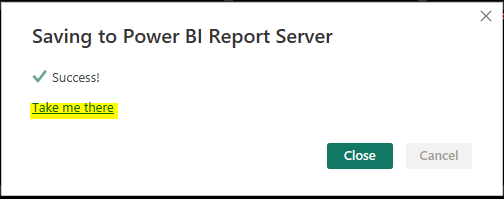
A success message confirms that the report has been saved. Click Take me there to open the report server web portal.
Configure Scheduled Refresh
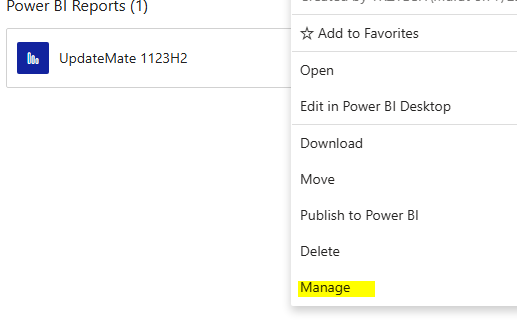
In the Power BI Report Server web portal, find your newly published report, click the ellipsis (…) for more options, and select Manage.
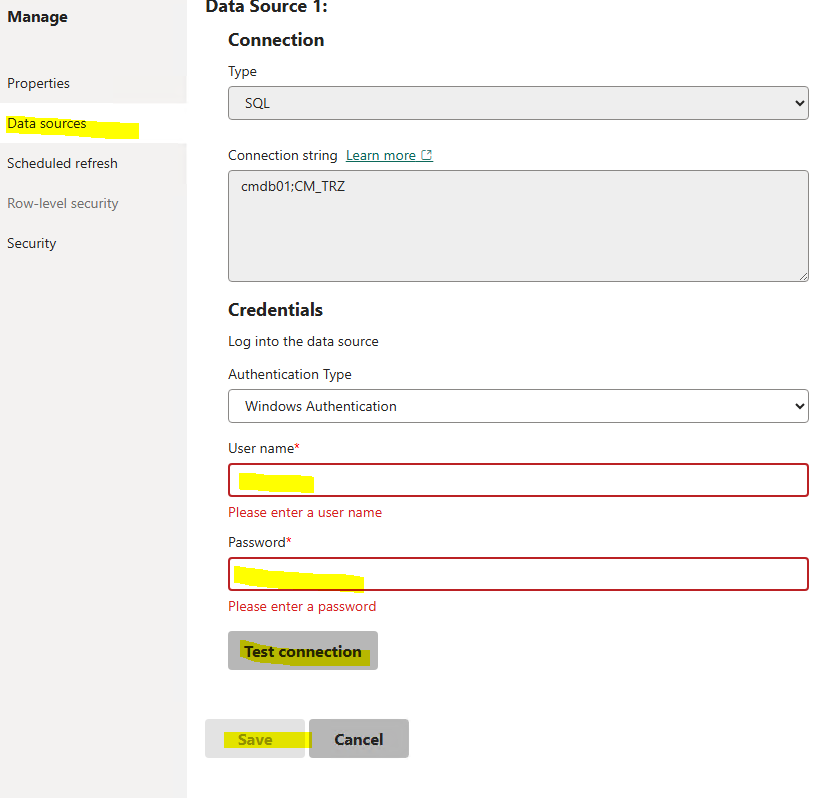
Navigate to the Data sources tab. To allow the server to refresh the data automatically, you must store credentials. Enter the username and password for an account with access to the database and click Test connection. If successful, click Save.
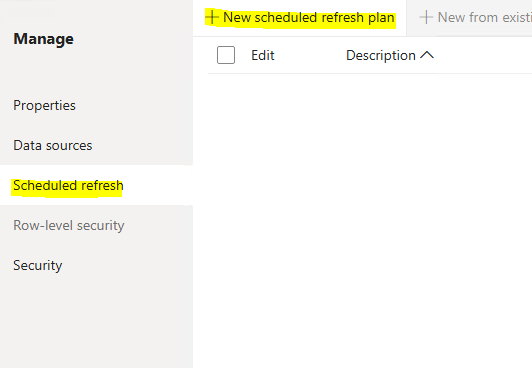
Select the Scheduled refresh tab from the left menu and then click + New scheduled refresh plan.
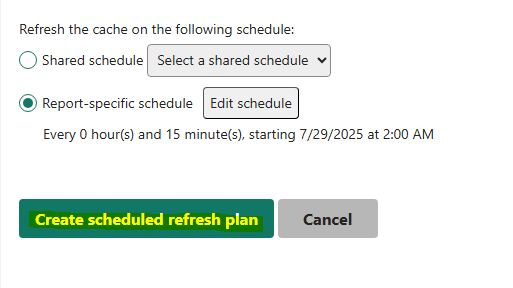
Choose Report-specific schedule and click the Edit schedule button to define the refresh frequency.

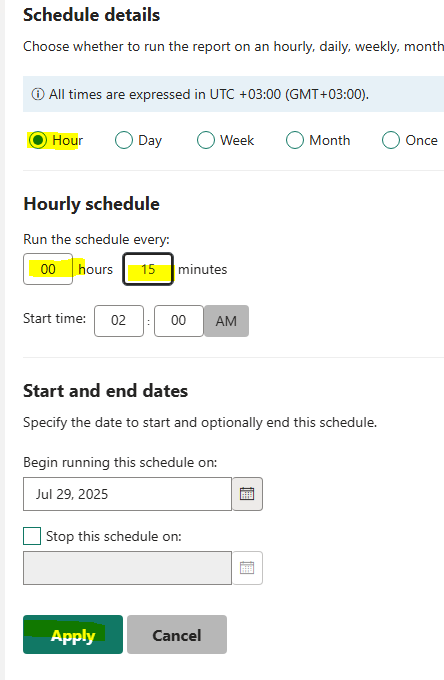
Configure the schedule details. For example, you can set the report to refresh every 15 minutes. Set the start date and time, then click Apply.
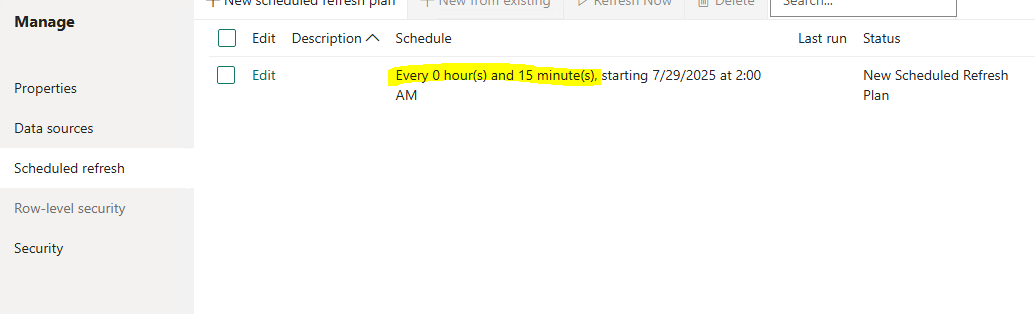
Review the configured schedule and click Create scheduled refresh plan to finalize the setup.
The scheduled refresh plan is now active. The report data will automatically update based on the schedule you defined, ensuring your dashboard always displays the latest information.
Setup complete. Your UpgradeMate Power BI report is now live and will automatically stay up-to-date.